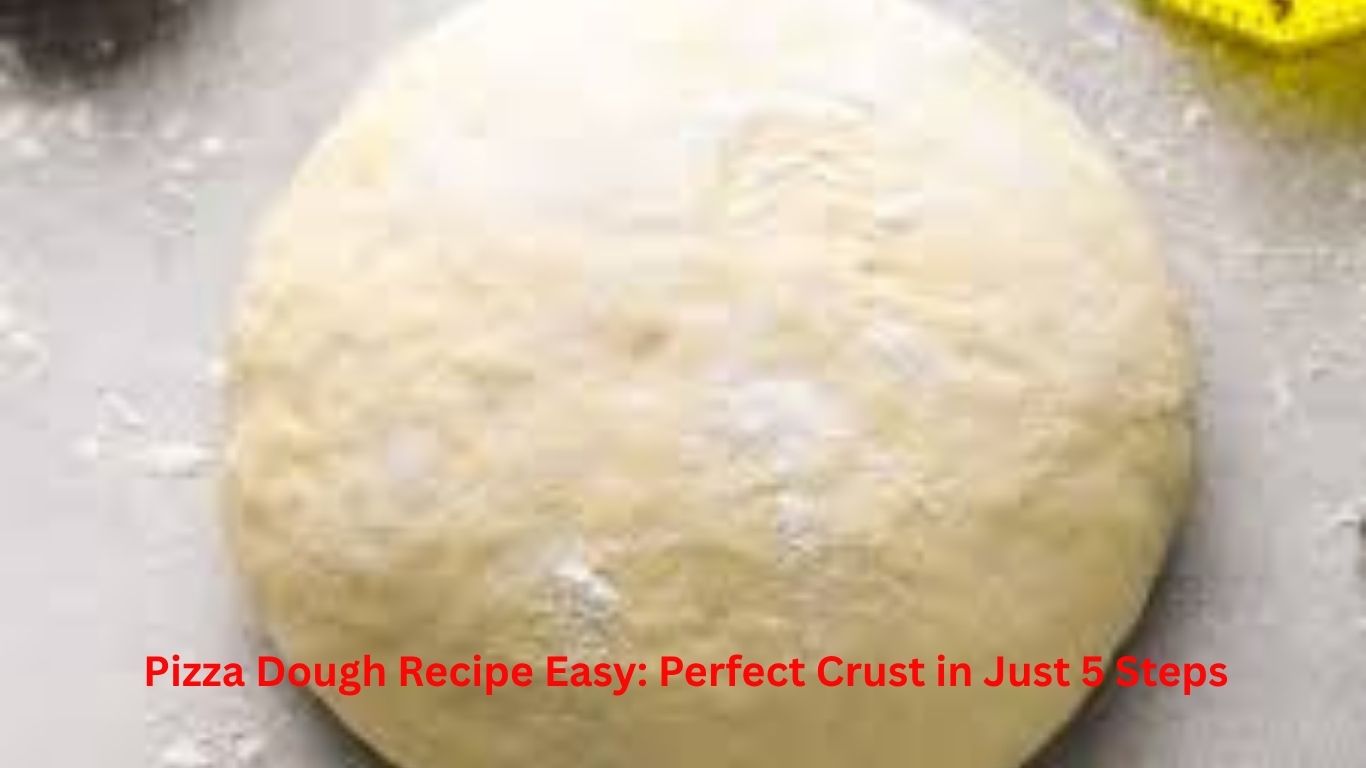
Make the perfect pizza at home with this Pizza Dough Recipe Easy. Just 5 simple steps for a soft, chewy crust that’s delicious and beginner-friendly.
1. Introduction of Pizza Dough Recipe Easy
This recipe involves just about five steps. No fancy tools, no obscure ingredients—just flour, yeast, water, salt, and a touch of olive oil.
I’ve been there myself—thinking that making dough meant hours of waiting and a massive mess scattered across the kitchen.
But this easy pizza dough recipe proves that you can achieve a perfect crust without any hassle. Crispy on the edges, soft on the inside, and incredibly fresh.
Whether you’re just starting out or simply looking to whip something up quickly, this method works every single time. You’ll learn how to activate yeast like a pro, knead the dough effortlessly, and let it rise to absolute perfection.
Best of all that You don’t need to be a chef. Just follow along, and your pizza night is guaranteed to be a success. Trust me—your kitchen is going to smell absolutely amazing.
2. Ingredients You’ll Need
in Pizza Dough Recipe Easy
-
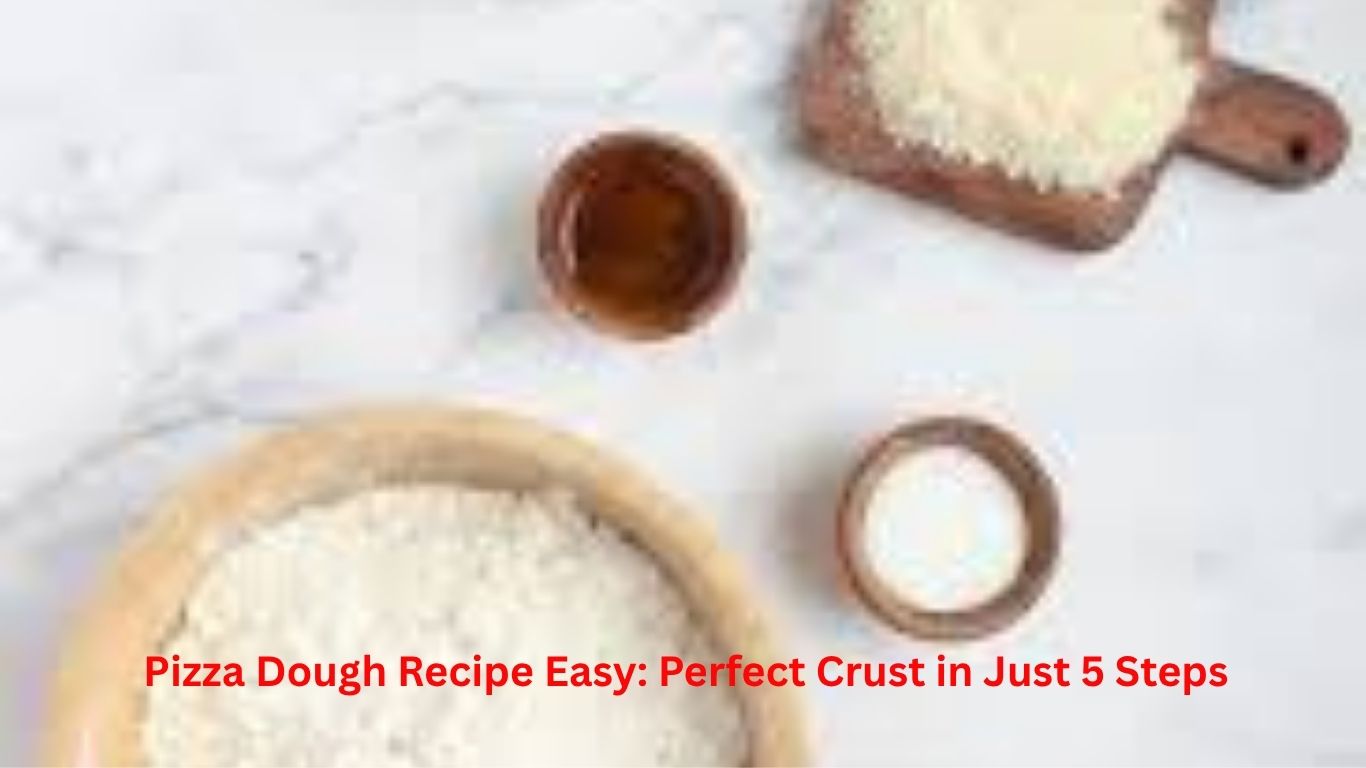
Clear list of basic, easy-to-find ingredients (flour, yeast, water, salt, olive oil, sugar).
Let’s talk ingredients. Nothing fancy here. Just the basics you probably already have in your kitchen.
- All-purpose flour – The backbone of your dough. Easy to find, and perfect for that soft but sturdy crust.
- Active dry yeast – The magic that makes your dough rise. Don’t skip it or use expired stuff.
- Warm water – Not too hot, not cold. Just right to wake up the yeast and get things bubbling.
- Salt – Adds flavor and controls the yeast activity. A little goes a long way.
- Olive oil – For richness and a touch of smoothness. Plus, it keeps the crust from drying out.
- Sugar – Helps feed the yeast and kickstarts the rise. Just a pinch does the trick.
Simple, right? No weird flours or complicated ingredients. Just these, and you’re on your way to pizza heaven.Ready to mix? Let’s get to step one.
-
Tips on choosing the right flour for the best crust texture
Choosing the right flour can be a total game-changer. Don't just expect to get by with whatever happens to be sitting in your pantry. The flour you select is precisely what determines the texture, chewiness, and crispness of your crust.
Do you crave a crust that is delightfully chewy and crisp? Then 'Bread Flour' is your best friend.

It boasts a higher protein content, which translates to more gluten. It is this very gluten that gives the dough the stretch and elasticity you desire in a truly excellent pizza crust.
If you prefer something lighter and softer, try incorporating a bit of 'Tipo 00 Flour.'

It is much finer and softer in texture, and is a staple in authentic Neapolitan-style pizzas. It strikes a perfect balance between a pleasant chewiness and a delicate crispness.
'All-Purpose Flour' is also a viable option—especially if you are just starting out.

It is incredibly versatile and readily available. For an improved crust, you can mix in a little 'Vital Wheat Gluten,' or simply allow the dough to ferment for a longer period to further enhance its flavor and texture.
Are you considering using 'Whole Wheat' flour? If so, use it very sparingly.

Using too much can result in a crust that is overly dense and heavy. However, adding just a small amount imparts a wonderful nutty flavor and a subtle graininess to the crust, without making it feel weighed down.
The bottom line is this: for a truly exceptional crust, 'Bread Flour'—or a blend incorporating '00 Flour'—is your best bet.

And don't be afraid to do a little experimenting! The texture of your pizza dough—more than anything else—depends most heavily on the flour you choose.
So, choose the right flour, and you will have already covered half the distance toward making a fantastic pizza.
3. Step 1: Activating the Yeast in Pizza Dough Recipe Easy
-
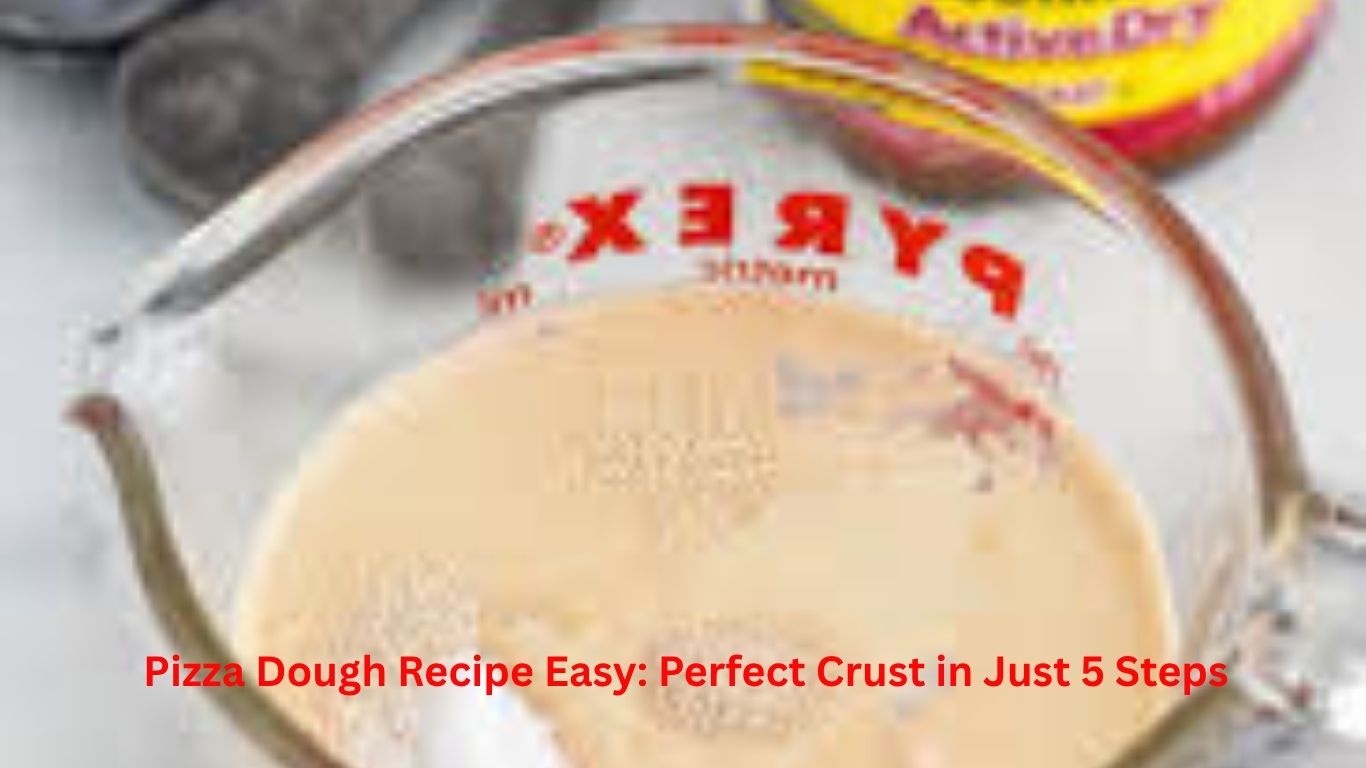
How to properly activate yeast with warm water and sugar
Activating yeast is much easier than you might think. This step “wakes up” the yeast, ensuring that your dough rises beautifully and turns out soft.
Start with lukewarm water—approximately 105 to 110°F (not as hot as coffee, but rather like warm bathwater). If the water is too hot, the yeast will die. If it is too cold, it won’t wake up at all. The correct temperature is absolutely crucial here.
Pour the lukewarm water into a small bowl. Stir in a teaspoon of sugar. Yeast loves sugar—it’s like breakfast for them! Stir until the sugar has completely dissolved.
Now, sprinkle your active dry yeast over the surface. Do not dump it all in at once. Let it sit undisturbed for a few seconds, then give it a gentle stir.
Wait. Be patient. In about 5 to 10 minutes, you will witness some magic—foam and bubbles will begin to form on the surface of the water. This indicates that your yeast has woken up and is ready to get to work.
If nothing happens after 10 minutes, your yeast may have gone bad or passed its expiration date. It is time to get some fresh yeast and try again.
This simple step accelerates the entire dough-making process and guarantees a light, airy crust. There is no guesswork involved—just lukewarm water, sugar, and yeast doing their job.
Ready to move on? Your yeast is now fully active—so let’s go ahead and make that perfect pizza dough.
-
Signs your yeast is ready to go
So, you’ve mixed your yeast with warm water and sugar. Now what? How do you know if your yeast is actually ready to be used?
The first sign: bubbles and foam. After about 5 to 10 minutes, foam and bubbles should appear on the surface of your yeast mixture. It will look as though a little party is going on inside your bowl. If you see that lively foam, you can proceed—your yeast is alive and fully active.
Next, check the smell. Active yeast gives off a distinct aroma—something like fresh bread, or perhaps a hint of beer. If your mixture smells sweet and fresh, that’s another green light.
Also, pay attention to its volume. Your yeast mixture should expand—sometimes even doubling or tripling in size. If it is rising and bubbling, it means the yeast is hard at work and ready to give your dough a fantastic rise.
If nothing happens after 10 minutes—no bubbles, no foam, no aroma—then your yeast may have gone bad or isn’t working properly. Don’t take any chances. Grab a fresh packet of yeast and start over.
Remember, this simple test saves you from the frustration of ending up with flat, dense dough later on. So, take those 10 minutes, keep an eye on the bubbles, take a whiff of that signature yeast scent, and get ready to make a truly perfect pizza crust.
4. Step 2: Mixing the Dough
-
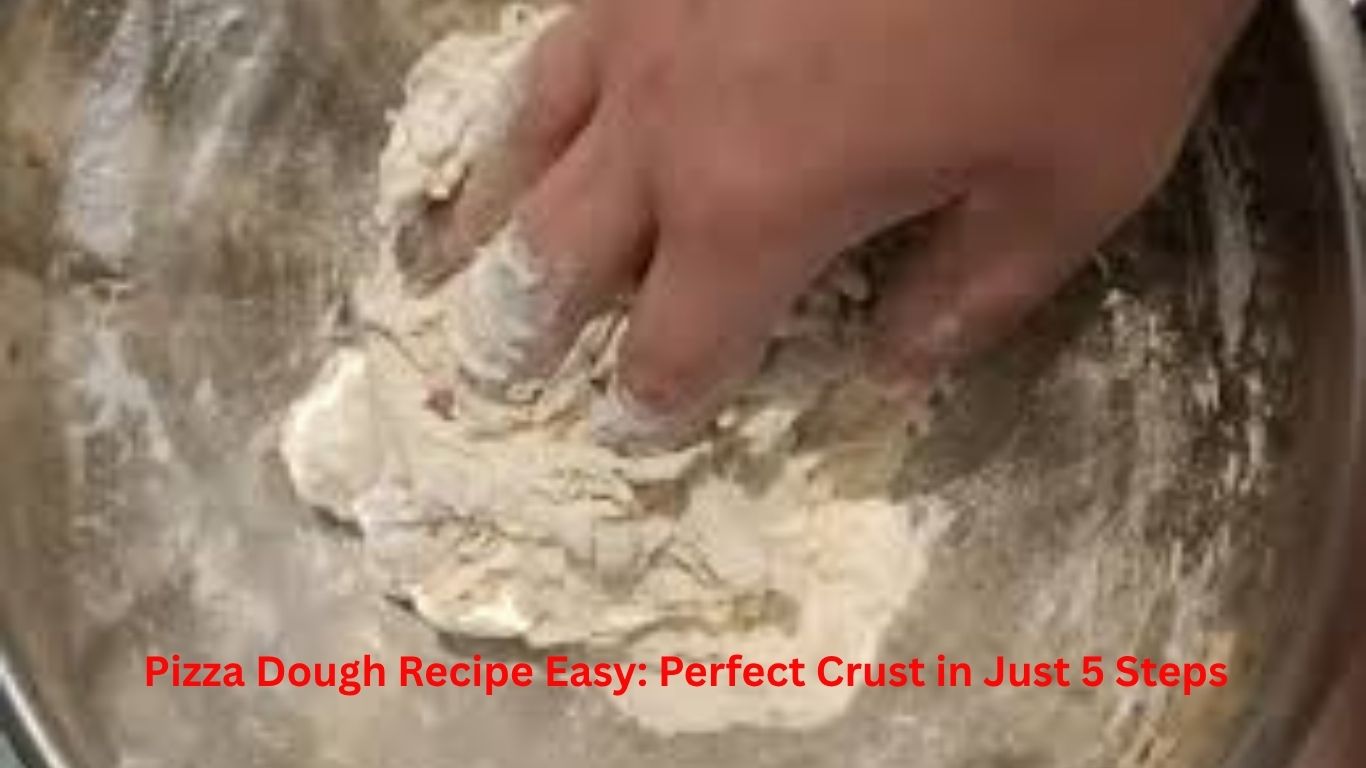
Combining ingredients to form the dough
Alright, your activated yeast is now ready. It is time to combine all the ingredients and knead the dough. To begin, pour the warm yeast mixture into a large bowl.
Now, add the all-purpose flour, salt, and sugar—if you haven’t already combined the dry ingredients beforehand, now is the perfect time to whisk them together.
This ensures that the yeast is distributed evenly throughout the mixture and prevents lumps from forming. Use a wooden spoon or your hands to mix everything together in a circular motion.
Do not rush. Continue to slowly incorporate the wet and dry ingredients until no dry patches remain visible. The dough will now begin to come together—it will be sticky, but it shouldn’t be excessively wet or loose.
If the dough feels too dry, add a little warm water—just a small amount at a time. If it becomes too wet? Simply sprinkle in a little more flour. Your goal is to create a soft, slightly sticky dough that holds together but doesn’t cling to your fingers like glue.
This mixing stage is where the real magic begins. You aren’t merely combining ingredients—you are laying the foundation for the texture that will give your crust that wonderful chewiness and crispness.
Once everything is fully combined, you are ready for the next step: kneading the dough. But for now, savor this moment—your dough is slowly coming to life.
-
Tips for consistency and avoiding sticky dough
Sticky dough is the worst. You want a soft, pliable dough—not a sticky mess that clings to everything. Here is how you can ensure your dough turns out perfectly.
First, do not add all the water at once. Reserve about 40% of the water. As you mix, gradually add the remaining water little by little. This way, you can control the consistency of the dough and prevent it from turning into a sticky, glue-like mass.
Salt matters far more than you might think. Too little salt means weak gluten, and weak gluten results in a sticky, fragile dough that breaks easily. Aim to add about 2–3% salt based on the weight of your flour. This tightens the dough and makes it much easier to handle.
Kneading is your best friend. Keep kneading until the dough stops sticking to the bowl and begins to pull away from the sides.
This may take anywhere from 5 to 10 minutes. The gluten needs time to develop fully to achieve that perfect texture.
If your dough is still sticking to your hands or the work surface, sprinkle a little flour over it—but just a touch. Add only a teaspoon of flour at a time.
Adding too much flour will make your dough tough and stiff, rather than keeping it soft. Also, keep your hands and work surface lightly dusted with flour.
It is all a balancing act—use enough flour to prevent sticking, but not so much that the dough dries out. And if it does get sticky? Don’t panic.
Use a dough scraper to gather it up and continue kneading gently. Keep your touch light and nimble—applying too much force will only make the situation worse.
Follow these tips, and your dough will be soft, pliable, and a joy to work with. No need to struggle with sticky dough anymore—you’ll get a perfect pizza crust every time.
5. Step 3: Kneading the Dough
-
Simple kneading techniques for beginners
Kneading dough sounds scary but it’s actually pretty simple once you get the hang of it. No fancy moves needed—just a few easy steps to get your dough smooth and stretchy.
Start by lightly flouring your work surface. Dump your mixed dough onto it. Now, here’s the trick: fold the dough in half toward you, then press it away with the heel of your hand. Push, fold, turn—repeat. It’s like giving your dough a little workout .
Keep your motions steady and relaxed. Don’t punch or mash it too hard. You want to develop gluten strands gently, so your dough becomes elastic and not tough.
If the dough sticks, sprinkle a tiny bit of flour on your hands or surface. But don’t go overboard—too much flour dries the dough out.
After about 8 to 10 minutes, your dough should feel smooth and springy. Here’s a quick test: pinch a small piece and stretch it gently.
If it stretches thin without tearing and you can almost see light through it, you nailed it. This is called the “windowpane test” and means your dough is ready to rise .
If it tears easily, keep kneading a bit longer. Patience pays off here. So, no stress. Fold, press, turn, and repeat. That’s all kneading really is.
Soon enough, you’ll have dough that’s soft, stretchy, and perfect for that crispy, chewy pizza crust you’re craving.
-
How long to knead for best results
How long to knead your pizza dough? That’s the million-dollar question. Too little, and your dough’s flat and dense. Too much, and it gets tough.
Here’s the scoop: knead by hand for about 5 to 10 minutes. That’s enough time to develop the gluten—the stuff that gives your crust that perfect chew and stretch .
If you’re using a stand mixer, 4 to 5 minutes on medium speed does the trick. You’ll see the dough pull away from the sides and become smooth and elastic .
Don’t rush it. Kneading is like a workout for your dough. You want it soft, springy, and just a little tacky—not sticky or dry.
A quick test Press the dough with your finger. It should bounce back slowly. If it stays indented, knead a bit more.
If it’s too stiff, you might have overdone it. Remember, every flour and kitchen is a little different. So trust your hands and eyes more than the clock.
Stick with 5 to 10 minutes by hand or 4 to 5 in a mixer, and you’re on your way to that perfect pizza crust you’ve been dreaming of.
6. Step 4: Letting the Dough Rise
-
Ideal rising conditions and timing (covering the dough, room temperature)
The moment the dough rises—that is when the real magic happens. However, creating the right environment for this process is the secret to achieving a superb crust.
First and foremost, cover your dough. Use a clean kitchen towel or plastic wrap for this purpose. This helps retain the dough’s moisture and prevents its surface from drying out.
If the dough dries out, it won’t rise, and the baking process won’t be nearly as enjoyable. Room temperature plays a crucial role.
The temperature should ideally range between 70°F and 75°F (21°C to 24°C). If the temperature is too low, the dough will simply sit there—it won’t rise, nor will there be any activity within it.
Conversely, if the temperature is too high, the yeast will become hyperactive; while the dough will rise very quickly, it won’t develop the proper flavor or texture.
If your kitchen happens to be on the cooler side, don’t worry. Find a warm spot—such as near a sunny window or atop the refrigerator.
Some people even place the dough inside a microwave alongside a cup of hot water to create a warm, humid environment for it to rise in.
Typically, 1 to 2 hours is sufficient for the dough’s initial rise. You want the dough to expand to roughly double its original size. However, don’t just stare at the clock—keep an eye on the dough itself.
Once the dough has risen and slowly springs back when gently pressed with a finger, you know it is ready to be used.
If you aren’t in a rush, allow the dough to rise slowly overnight in the refrigerator; this significantly enhances its flavor and makes it much easier to handle.
Simply cover the dough securely and let the yeast work its magic at a leisurely pace. So there you have it: cover the dough, find a warm spot, and exercise a little patience.
Providing the right environment for the dough to rise means a crust that is light, delightfully chewy, and absolutely perfect.
-
What to look for to know the dough is ready
You’ve let your dough rise. Now, how do you know it’s ready?First, look for size. Your dough should roughly double in volume. It’s puffed up, soft, and full of air bubbles inside.
That means the yeast did its job and your dough is alive and kicking .Next, the poke test. Gently press your finger into the dough. If the indentation springs back slowly but not completely, you’re golden.
It shows the gluten is relaxed and the dough is ready to shape. If it bounces back too fast, it needs more time. If it stays flat, it might be over-proofed .Texture matters too.
The dough should feel soft and slightly tacky, not sticky or dry. It’s pliable and easy to stretch without tearing.Smell it. A slight yeasty, almost sweet aroma means your dough is fermenting well and will bake into a flavorful crust.
If you see all these signs, it’s time to move on. Shape your dough, add toppings, and bake that perfect pizza crust you’ve been dreaming of.Remember, patience pays off here.
Rushing the rise means dense dough. Wait for these signs, and you’ll get a crust that’s airy, chewy, and just right every time.
7. Step 5: Shaping and Preparing for Baking
-
How to shape the dough into a perfect pizza base
Shaping your dough into a perfect pizza base is an art, but don’t sweat it. No fancy tools needed—just your hands and a little patience.
First, ditch the rolling pin. Seriously. Hand-shaped dough keeps that light, airy texture you want in a crust. Lay your dough ball on a clean surface or better yet, on a sheet of parchment paper. This helps keep things tidy and makes sliding your pizza into the oven a breeze
Start by gently pressing the dough down with your fingertips, working from the center outwards. Let gravity do some work—slowly stretch the dough by holding it and letting its own weight pull it outward.
Rotate the dough as you go to keep it even and round. Don’t rush or yank it too hard; you want to avoid tearing or thinning some spots too much.
Use your arms to support the dough’s edges, pressing air toward the outside to create that perfect puffy crust edge. Keep turning and stretching gently until you get a nice, even circle about 10-12 inches wide, or whatever size fits your pan.
If the dough resists stretching, let it rest for a few minutes. That relaxes the gluten and makes it easier to shape without snapping back.
Once shaped, if you’re using a pan, lightly grease it with olive oil or sprinkle some cornmeal to prevent sticking. Then transfer your dough carefully—parchment paper helps a lot here.
And there you have it. A perfectly shaped pizza base, ready for your favorite toppings and a hot oven. No stress, just simple hands-on shaping that leads to that crispy, chewy crust you’re craving.
-
Tips on pre-baking or adding toppings directly
Alright, toppings time. But should you pre-bake your dough or just pile them on and bake all at once? Let’s clear that up.If you’re loading your pizza with lots of sauce and heavy toppings, pre-baking the crust is a smart move.
It helps avoid a soggy bottom and gives you a crust that’s crispy and cooked through . Just pop your dough in the oven for 3 to 5 minutes before adding sauce, cheese, and toppings.
This little head start firms up the base so it can handle all that deliciousness without getting mushy .Got veggies? Roast them first.
Toss with olive oil, salt, and pepper, maybe some garlic-infused oil if you’re feeling fancy. Roasting cuts down on moisture and amps up flavor.
Same goes for fatty meats like sausage—sauté them beforehand to avoid greasy, soggy pizza .If you’re using a pizza steel or stone and your oven is blazing hot, you might skip pre-baking altogether.
These tools cook the crust fast and evenly, so your dough crisps up while the toppings cook perfectly .For lighter toppings or quick pizzas, you can add everything at once and bake.
Just keep an eye on the crust and cheese—when the edges turn golden and the cheese bubbles, you’re good to go .
Pro tip: Brush your crust with olive oil or a garlic-oil mix before adding toppings. It adds flavor and helps seal the dough, keeping it from soaking up too much sauce .
So, pre-bake if you want a sturdy, crispy crust under heavy toppings. Skip it if you’re going thin and fast with a hot oven and pizza stone. Either way, you’re on track for a killer homemade pizza night.
9. Common Mistakes to Avoid
-
Over or under activating yeast
Yeast is the heart of your pizza dough. But over or under activating it? That can wreck your crust before it even hits the oven.
Under activating yeast means when your yeast doesn’t foam up or bubble after mixing with warm water and sugar. It’s like the yeast is still asleep or worse—dead.
No bubbles means no rise, and your dough ends up dense and flat, like a sad pancake . If this happens, toss that batch and start fresh with new yeast. Don’t try to cheat it.
On the flip side, over activating yeast is a different beast. If you let the yeast sit too long before mixing it into your dough, it can exhaust itself.
The yeast gobbles up all the sugar and oxygen, then starts to die off. Your dough might rise too fast, then collapse or taste off—kind of sour or overly yeasty .
Temperature plays a big role here. Too hot water? You kill the yeast outright. Too cold It won’t wake up. Aim for warm water around 105°F (40°C). That’s the sweet spot to get your yeast lively and ready to work .
Also, don’t mix or knead your dough too aggressively after adding yeast. Overmixing can heat up the dough and stress the yeast, slowing down the rise or killing it.
Proofing yeast properly means watching for that foamy, bubbly surface after about 5 to 10 minutes. If you see it, you’re good. No foam? Yeast’s dead or inactive—start over.
So, the trick is balance. Wake your yeast gently, don’t let it overwork before it hits the dough, and keep your water temp just right. Nail this, and your dough will rise beautifully, giving you that perfect crust every time.
Remember, yeast is alive. Treat it well, and it’ll reward you with airy, chewy pizza crust magic.
-
Over-kneading or under-kneading
Kneading dough sounds simple, but over-kneading or under-kneading? That’s where things go sideways.Under-kneaded dough? It’s rough, sticky, and tears easily. No stretch, no bounce.
Your crust ends up dense and flat—definitely not the chewy, airy pizza you want . You need to knead long enough to develop gluten, about 5 to 7 minutes by hand.
That’s when the dough starts feeling smooth and elastic, not sticky or crumbly .Now, over-kneading is a sneaky problem. Too much kneading breaks down the gluten network.
Your dough turns tight and tough, almost crumbly. Instead of a light, airy crust, you get something more like bread—dense and chewy in a bad way .
If you’re using a stand mixer, keep it around 5 to 7 minutes max. Hand kneading? Stop when the dough is smooth, elastic, and springs back when poked .
Here’s a quick test: press your finger into the dough. If it bounces back slowly, you’re good. If it stays indented or tears when stretched, knead a bit more.
If it feels stiff or dry, you might have gone too far .Don’t add too much flour while kneading. A light dusting is fine, but too much dries out the dough and ruins the texture.
Kneading is more than mixing—it’s building the dough’s structure. Nail this step, and you’re halfway to that perfect crust.So, keep it balanced.
Knead enough to get smooth and elastic, but don’t overdo it. Your pizza crust will thank you.
-
Rushing the rising process
Rushing the rising process? Big mistake. I’ve been there—impatient, wanting that pizza NOW. But trust me, good things take time.Your dough needs to rise slowly and steadily.
When you rush it, the yeast doesn’t get to do its full job. The result? Dense, flat dough that’s tough, not airy .Ideal rising takes about 1 to 2 hours at room temperature—around 70°F (21°C).
Cover your dough with a damp towel or plastic wrap to keep it cozy and moist. This helps it puff up just right .If you try to speed things up by cranking the heat or cutting the time short, your dough won’t develop flavor or texture.
It might rise unevenly or collapse in the oven. No one wants that sad, chewy crust .Sometimes, slow and low is better. Letting dough rise overnight in the fridge adds depth of flavor and makes it easier to handle.
It’s like giving your dough a spa day .So, be patient. Watch your dough double in size, feel soft and pillowy, and pass the gentle poke test—when it springs back slowly, it’s ready.Rushing the rise?
Skip it. Take your time, and you’ll get that perfect crust—crispy on the outside, chewy inside, and full of flavor every time.
10. Conclusion
So, here’s the scoop. Making perfect pizza dough isn’t rocket science. It’s about simple ingredients, patience, and a little love.
Follow these 5 easy steps, and you’ll get a crust that’s crispy on the edges, chewy inside, and packed with flavor. No fuss, no fancy gear—just good old flour, yeast, water, salt, and olive oil.
Remember, activating your yeast right, kneading just enough, and letting the dough rise slow and steady are the real game changers.
Skip the rush, and your pizza will thank you.Whether you’re a beginner or a kitchen pro, this recipe works. It’s your ticket to homemade pizza nights that taste better than takeout.So, grab your ingredients, roll up your sleeves, and get ready to impress.
Your perfect pizza crust is just 5 steps away.Trust me—once you nail this, there’s no going back. Happy baking.